The "Super-Monitor" Overview and Usage Guide
The purpose of the "Super-Monitor" is to provide an overview of all online exams taking place at the institution on a specific date.
You can view a list of exams, the number of students, a list of instructors, and more.
From various points within the "Super-Monitor," you can navigate directly to the specific monitor of any exam.
Accessing the System
Access the "Super-Monitor" through the "More" menu. In the options menu, select "Integrity Management".
Access is restricted to authorized personnel only.

Main Screen Overview
(Click to enlarge images)

- Date Selection: Choose a date or range of dates to display exams.
- Total Examinees: View filtered totals of students across all exams for the selected date(s).
- My Group: View a list of instructors or proctors. Searches can be performed in this section.
- Exams: View active exams for the selected date. Clicking a row for a specific exam will open its monitor. Searches by exam name are also possible.
- Navigation: Navigate to other pages within the system (details provided below).
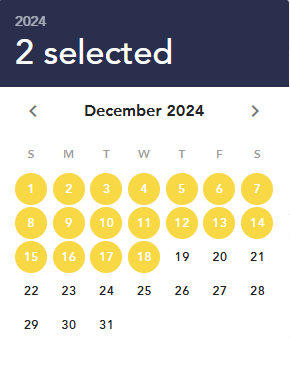
Selecting a Date
To select a date:
- Click the displayed date, and from the calendar dropdown, choose a specific date or range of dates.
Activities
This section displays a main table containing exam details, including submission percentages.
(Click to enlarge images)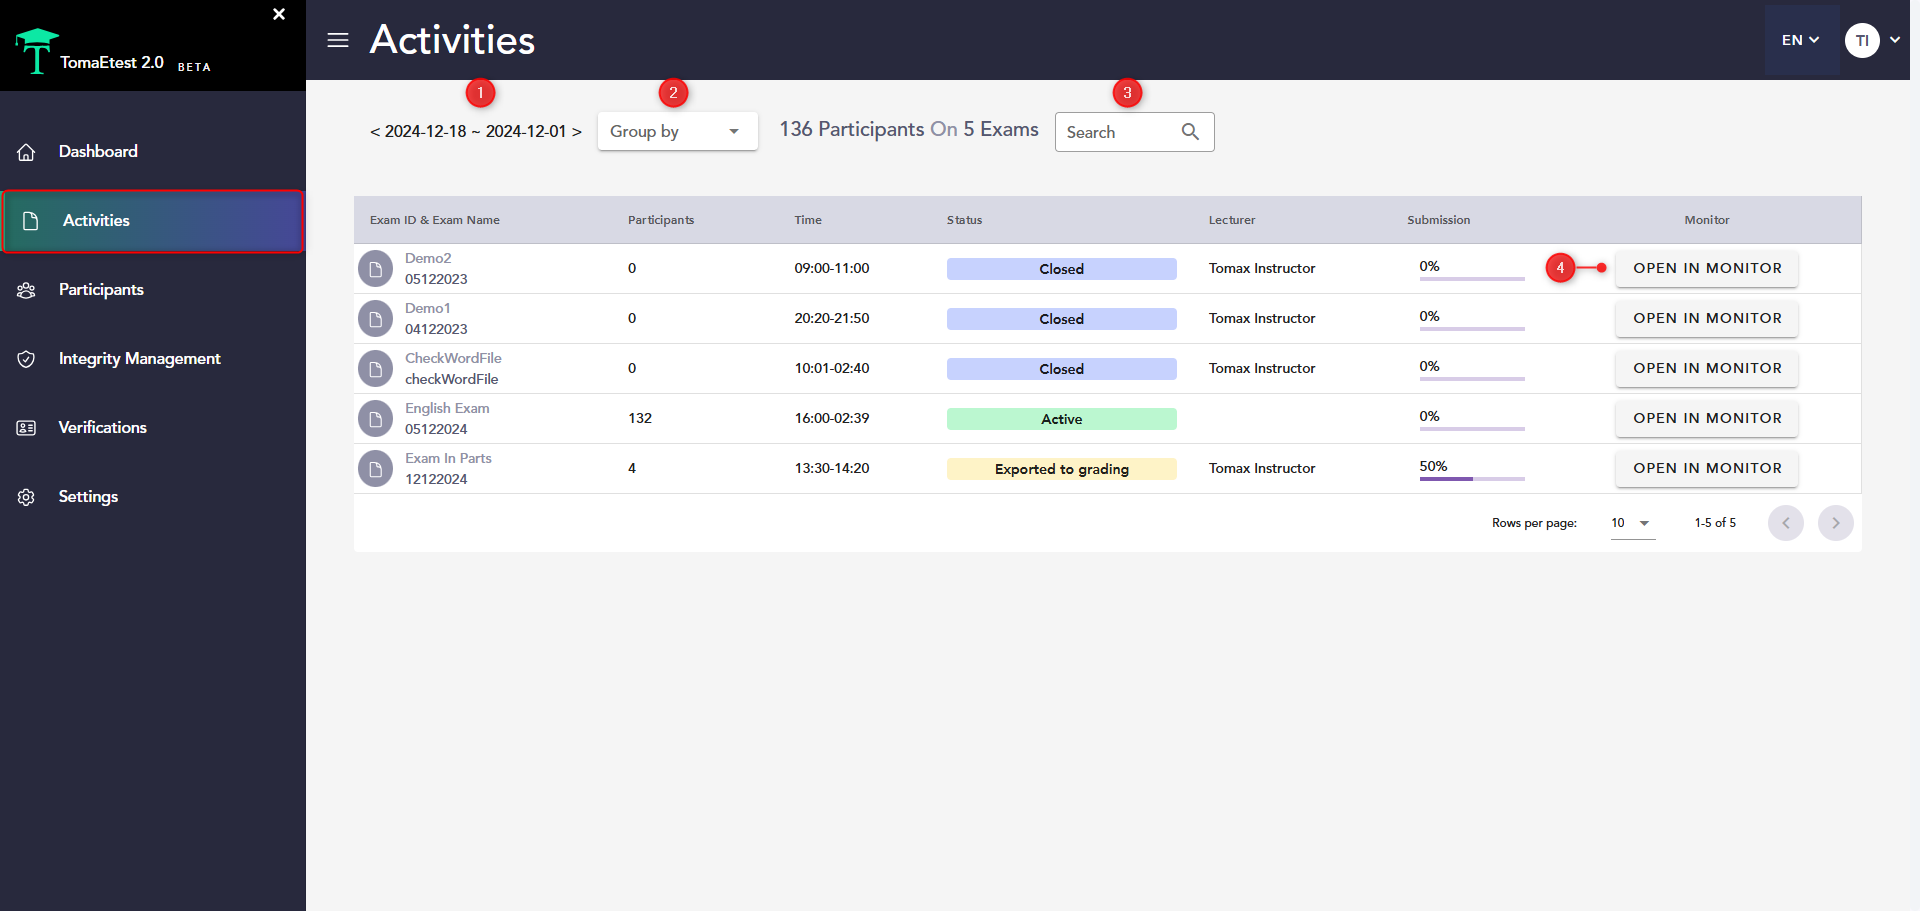
- Date Selection: Choose a date or range of dates.
- Group Exams: By exam, instructor, or status.
- Search: Find exams by name or ID.
- Open Monitor: Navigate directly to the participant tab for a specific exam by clicking "Open with Monitor".
Participants
This screen shows a main table containing student details and exam participation information.
(Click to enlarge images)
- Date Selection: Choose a date or range of dates.
- Search: Find students by name or exam ID.
- Open Monitor: Open the specific exam monitor filtered for the selected student.
Integrity Management
This section displays a main table with student details, exam participation details, integrity scores, detected events, and integrity status.
- Export Data: Download table data as an Excel file.
- Filter Data: Filter the table using tabs or dropdowns.
- Clear Filters: Click "Clear All Filters" to reset.
- Search: Search by student ID, exam ID, name, or course ID.
Filters
By Date
- By default, the system displays all students examined in the last 24 hours.
- To adjust: Click the filter and choose options like Last Week or set a custom date range. Confirm by clicking Apply.
By Integrity Score
- Integrity scores are automatically assigned to each student in every exam.
- Scores can be adjusted within a student's integrity report.
- Use this filter to select one or more scores. Confirm by clicking Apply.
By Events
- Different types of events are automatically recorded during exams.
- To filter by event type: Click "Events", then "+" to add a filter. Select the desired event type under the "Type" column. Confirm by clicking Apply.
By Exam
- Click "Exam Name/ID". In the popup, select multiple exams or search by exam ID/name.
- Confirm to display all students in the selected exams by clicking Apply.
By Course
- Click "Course ID". In the dropdown list, select one or more courses or search by course name/ID.
- Confirm by clicking Apply.
By Treatment Status
- Treatment status is assigned to each student's integrity report after reviewing events.
- Filter by treatment status by clicking the relevant status box.
Opening a Student's Integrity Report
From the Integrity Management screen, you can access any student's integrity report:
- Select the student's record.
- Click "View Report" to open their detailed integrity report.
This guide ensures effective navigation and utilization of the "Super-Monitor" for managing online exams.